
Enter into the Arch Linux system by typing the below command:
arch-chroot /mnt
Set the date and time#
To see what timezones are available, run the below command:
# ls /usr/share/zoneinfo/
Then, once you find your region, run the below command to narrow the timezone to cities
# ls /usr/share/zoneinfo/<region>
An example of a timezone path would be:
/usr/share/zoneinfo/Europe/London
Set the system’s timezone to yours by running the below command:
# ln -sf /usr/share/zoneinfo/<region>/<city> /etc/localtime
Then, synchronise the hardware clock with the system clock:
# hwclock --systohc
Set the locale and language#
Open and edit the /etc/locale.gen file (as shown below):
# nano /etc/locale.gen
And then find your locale from the list shown on-screen.
This will be your two-letter language code, followed by a dash, then your two-letter country code, then a character set.
The following links will help you: https://en.wikipedia.org/wiki/List_of_ISO_639_language_codes https://en.wikipedia.org/wiki/ISO_3166-2
An example of a locale would be:
#en_US.UTF-8 UTF-8
Once you’ve found your locale, uncomment it. This would turn the above into the below:
en_US.UTF-8 UTF-8
Save and quit (Ctrl+O then Enter then Ctrl+X)
Once all of this is done, let Arch Linux recognise them by running the below command:
locale-gen
Then, open and edit the /etc/locale.conf file (as shown below):
# nano /etc/locale.conf
Add LANG= followed by the first part of your locale. So, given the above locale, add the following to the file:
LANG=en_US.UTF-8
If your keyboard layout is not an American English keyboard, run the below command:
# echo "KEYMAP=<your keymap>" > /etc/vconsole.conf
For example, a British person would run the below command:
# echo "KEYMAP=uk" > /etc/vconsole.conf
Set the hostname#
A hostname is what your computer identifies itself as when communicating to other computers. Set a hostname as shown below:
# echo <hostname> > /etc/hostname
You can set the hostname to whatever you like. Make sure you remember, because you’ll need to when editing the hosts file.
Editing the hosts file#
Open and edit the /etc/hosts file (as shown below):
# nano /etc/hosts
Add the below lines to it:
127.0.0.1    localhost
::1          localhost
127.0.1.1    <your hostname>.localdomain <your hostname>
Save and quit (Ctrl+O then Enter then Ctrl+X)
This step is important because a lot of programs tend to use localhost instead of 127.0.0.1. The above step just translates localhost into 127.0.0.1. localhost refers to the local machine on which a program is currently running on. It allows you to connect with services on the local machine’s network without having to connect to an outer network.
Enable networkmananger#
“Enabling” a service essentially means to configure it so that it runs automatically at boot.
NetworkManager configures things like Wi-FI, ethernet, VPNs, mobile broadband modems, proxies .etc, so it would make sense to enable it.
This is done by running the below command:
# systemctl enable NetworkManager
Set the root password#
Set a password for the root user so that your computer isn’t left wide open for cybercriminals to do as they please with your computer:
# passwd
If you have encrypted your root/home partition(s)
If you have encrypted your root/home partition(s), you will need to configure Arch Linux’s boot process so that it will prompt you for your password to unlock them.
To do this, you will have to edit the mkinitcpio.conf file as shown below.
# nano /etc/mkinitcpio.conf
Find and comment out any line beginning with hooks (by adding a hashtag before it) and add the following line to the file:
HOOKS=(base systemd autodetect microcode modconf kms keyboard keymap consolefont block encrypt lvm2 filesystems fsck)
Save and quit (Ctrl+O then Enter then Ctrl+X).\
Regenerate the initcpio as shown below. The initcpio is a temporary root filesystem loaded by the kernel during the boot process before the real root filesystem is mounted.
mkinitcpio -P
Picking a bootloader#
This guide will cover how to install three different bootloaders: systemd-boot, GRUB and rEFInd. If you are unsure, or haven’t bothered with encrypting your partitions and if you do not want to unify your kernel images, choose GRUB as your bootloader.
GRUB is easily customisable, but a bit clunky and slow. You should select this option if you have encrypted your drive. It’s themeable, meaning you can make the bootloader look however you’d like it to.
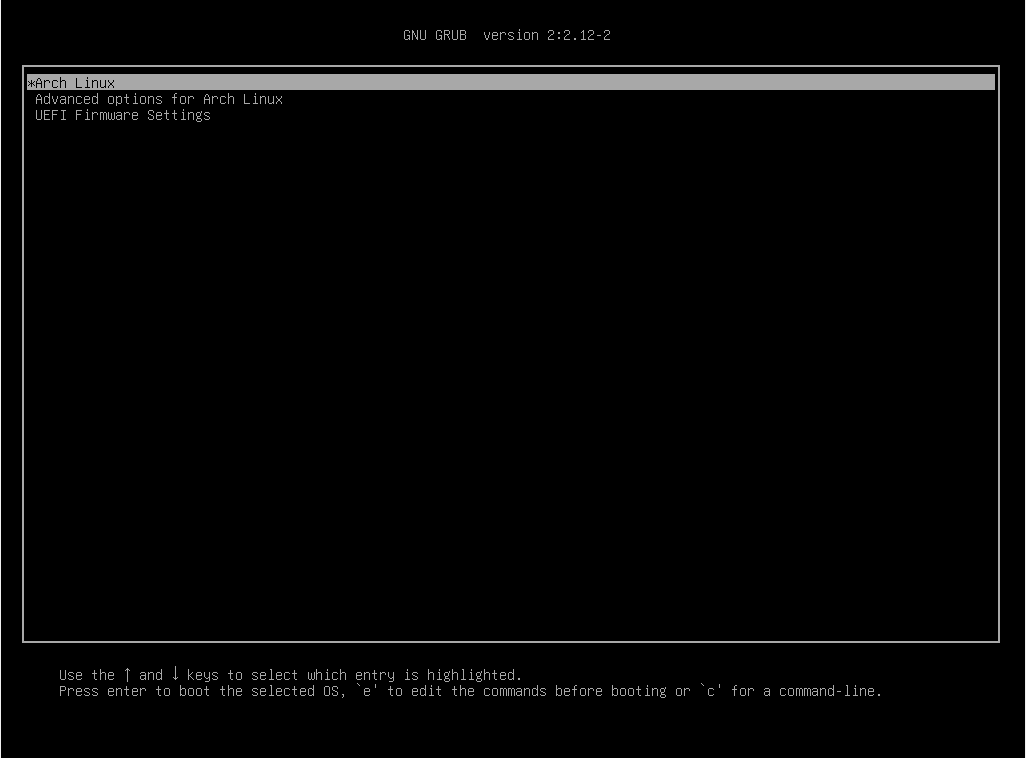
Install GRUB
Install GRUB as shown below:
# pacman -S grub
Then install GRUB (as shown below):
grub-install --target=x86_64-efi --efi-directory=/boot/efi --bootloader-id=GRUB
Then create a configuration file so that GRUB knows how to display the boot entries on your drive
grub-mkconfig -o /boot/grub/grub.cfg
rEFInd has a pretty GUI and is good for multi-booting.
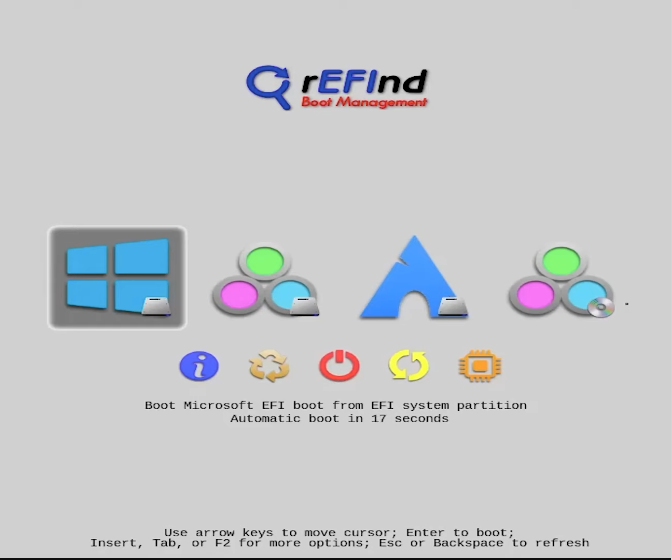
Install rEFInd
Install rEFInd (as shown below):
# pacman -S refind
Install refind:
# refind-install
Create the configuration file (as shown below):
# mkrlconf
Edit the refind_linux.conf file (as shown below):
# nano /boot/refind_linux.conf
Delete the first two lines of the file by hitting Ctrl+K twice.
Then save and exit (Ctrl+O then Enter then Ctrl+X).
Then, edit the refind.conf file as shown below.
nano /boot/EFI/BOOT/refind.conf
Find the following line:
menuentry "Arch Linux" {
Which can be found by hitting Ctrl + W and then entering the above line.
Edit that section of the file such that:
menuentry "Arch Linux" {
    <...>
    options "root=PARTUUID=<...> rw add_efi_memmap"
becomes:
menuentry "Arch Linux" {
    <...>
    options "root=label=root rw add_efi_memmap"
Save and exit (Ctrl+O then Enter then Ctrl+X).
systemd-boot is lightweight and fast, it integrates well with your init system but installing and configuring it is quite involved. It’s also good if you want to unify your kernel images.

Install systemd-boot (optionally contains instructions on how to unify kernel images)
Install systemd-boot (as shown below):
bootctl install
Create a unified kernel image (optional)
Edit the loader.conf file (as shown below):
# nano loader.conf
Then make it so that the file only contains these lines:
default arch-linux.efi
timeout 5
console-mode keep
default arch-linux.efi makes systemd-boot automatically boot to Arch Linux if you don’t select a boot entry.
timeout 5 stalls your system by 5 seconds before it boots so you have time to select an option. This is optional, and if you want an instant boot, you can leave it commented.
console-mode keep keeps your console-based SystemD-Boot menu to how it was last time.
Save and exit (Ctrl+O then Enter then Ctrl+X).
Then, go and edit the linux.preset file as shown below
# nano /etc/mkinitcpio.d/linux.preset
Then edit the file so that the following are the contents of it:
# mkinitcpio preset file for the 'linux' package

ALL_CONFIG="/etc/mkinitcpio.conf"
ALL_kver="/boot/vmlinuz-linux"

PRESETS=('default' 'fallback')

#default_config='/etc/mkinitcpio.conf'
#default_image='/boot/initramfs-linux.img'
default_uki="/boot/EFI/Linux/arch-linux.efi"
default_options="--splash /usr/share/systemd/bootctl/splash-arch.bmp"

#default_config='/etc/mkinitcpio.conf'
#default_image='/boot/initramfs-linux-fallback.img'
default_uki="/boot/EFI/Linux/arch-linux-fallback.efi"
default_options="-S autodetect"
Then, generate the unified kernel image as shown below:
mkinitcpio -P
Once you’re done with this, move on from this page of the guide. Following the sections below will cause your Arch Linux system to fail its boot process.
Edit the loader.conf file (as shown below):
# nano loader.conf
Then make it so that the file only contains these lines:
default arch.conf
timeout 5
console-mode keep
default arch.conf makes systemd-boot automatically boot to Arch Linux if you don’t select a boot entry.
timeout 5 stalls your system by 5 seconds before it boots so you have time to select an option. This is optional, and if you want an instant boot, you can leave it commented.
console-mode keep keeps your console-based SystemD-Boot menu to how it was last time.
Change directory into the entries folder, as shown below:
cd entries/
Once you have done that, create a Arch Linux boot configuration file, as shown below:
nano arch.conf
Add the following lines to it:
title Arch Linux
linux /vmlinuz-linux
initrd /initramfs-linux.img
options root=label=root quiet rw
title is what the boot option will display.
linux specifies where the Linux kernel image exists.
initrd specifies where your initramfs image exists.\
options is a list of parameters to be sent to the kernel.
Save and exit (Ctrl+O then Enter then Ctrl+X).
Now, you need to create a boot configuration file for the fallback image, which is a initramfs that holds more modules and drivers, This exists because the default initramfs generated by mkinitcpio tries to include only what’s necessary for your specific hardware setup, using autodetection (e.g., filesystem, storage drivers). This keeps it small and fast. However, if something goes wrong, the fallback image comes in. It’s bloated on purpose, including every possible module and driver so it can boot in a broader range of situations.
This is done by simply copying the arch.conf file into a new arch-fb.conf file and then modifying arch-fb.conf in order to load the fallback initramfs instead of the regular one.
Firstly, copy the arch-conf file into a new arch-fb.conf file
cp /boot/loader/entries/arch.conf /boot/loader/entries/arch-fb.conf
Then, edit the arch-fb.conf file:
nano /boot/loader/entries/arch-fb.conf
Change the file:
title Arch Linux
linux /vmlinuz-linux
initrd /initramfs-linux.img
options root=label=root quiet rw
So that it looks like this:
title Arch Linux
linux /vmlinuz-linux
initrd /initramfs-linux.img
options root=label=root quiet rw
Save and exit (Ctrl+O then Enter then Ctrl+X).
Warning
Make sure you have followed each instruction given above to a ’t’.
Any mistakes that you might make can and will cause Arch Linux to fail its boot sequence